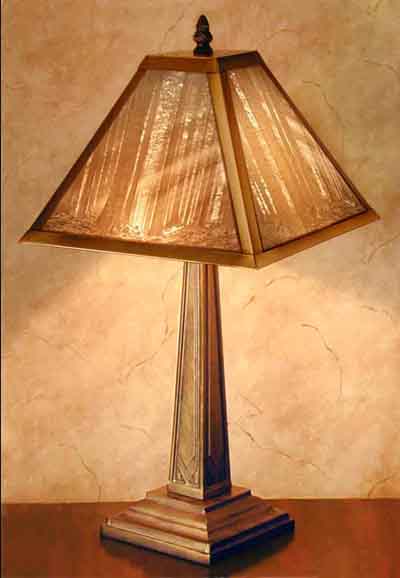
Mission Lamp Replacement Panels

Each of our Mission Lamps has two different panels, a left and a right panel as shown in the lamp above, and as separate panels below. On most of the lamps the two panels combine into one scene, with the image flowing from across the two panels. Those same two panels are then repeated on the back (opposite) side of the lamp for a total of 4 panels. If you need a replacement panel, it will be one of the pieces shown below.
The panels are approx. 7" tall, 9" wide at the bottom, and 2 1/2" wide at the top.
To replace a panel, lay the lampshade on it’s side onto a flat surface, with the damaged side facing down. You will notice two metal tabs on the top of the lamp that are bent downwards, holding the panel in place, and a metal channel on the bottom of the shade that secures the bottom of the panel. Bend those two top tabs up and away from the porcelain, as flat as you can. Then slide the remaining porcelain up towards the top of the shade so it comes out of the metal channel on the bottom of the shade. Remove any remaining porcelain pieces, being mindful of the sharp edges! Slide the replacement panel into the bottom channel first, then lay it down flat. Then bend the tabs back down to hold it in place. That’s it!


